How to Use Natural Light for Aesthetically Pleasing Videos
The Transformative Effect of Natural Light on Video Production
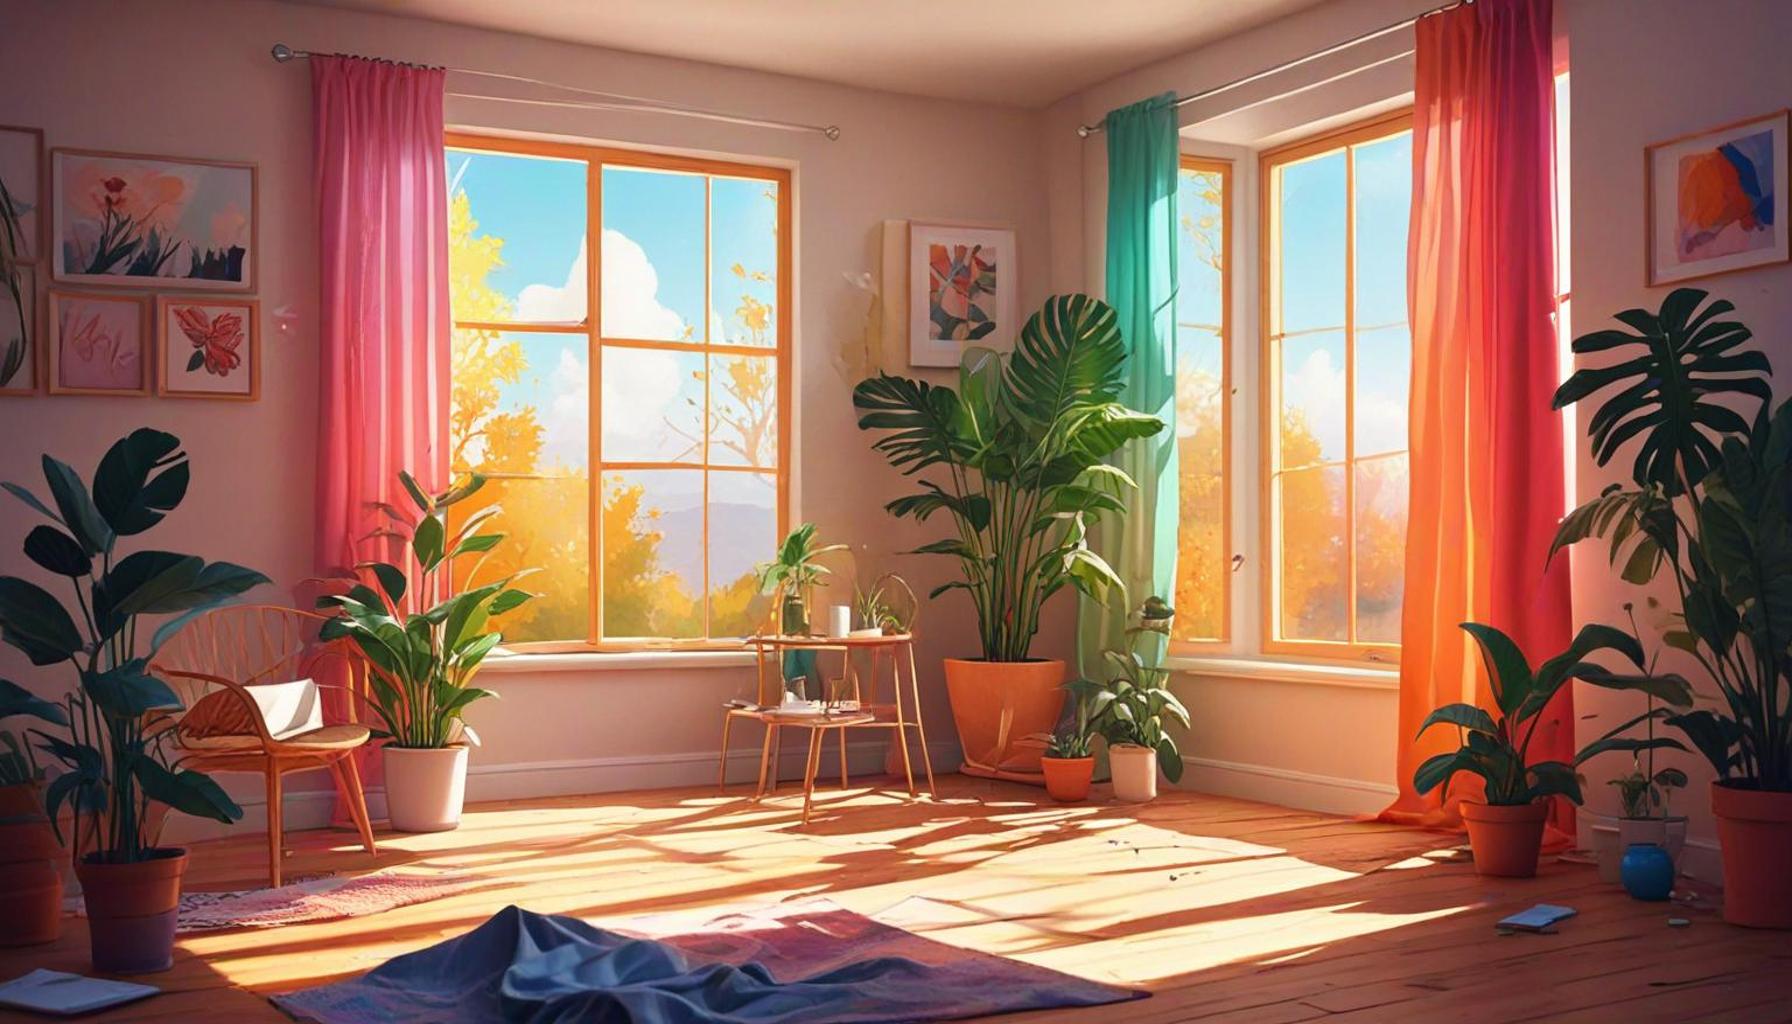
Creating visually stunning videos is within reach, and much of it hinges on one crucial element: natural light. Using sunlight effectively can elevate your video production, whether you’re a seasoned filmmaker or a novice content creator. Incorporating natural light into your shooting schedule can lead to visually captivating results that resonate with your audience.
Natural light is more than just a resource; it is a transformative tool that can breathe life into your visuals. By understanding how to work with this powerful element, you can create videos that not only look professional but also convey the authenticity that viewers crave. Here are some key benefits of utilizing natural light:
- Soft Shadows: Unlike harsh artificial lighting, natural light generates softer shadows that add depth and dimension to your scenes. This gentle quality is particularly favorable for portrait shots and scenes where you want to highlight texture without overwhelming contrast.
- Dynamic Colors: Natural light captures the true essence of colors, making them pop in a way that enhances the overall visual appeal. A sunny afternoon can turn a dull landscape into a vibrant palette, allowing nature’s hues to shine through effectively.
- Versatility: The sun’s position shifts throughout the day, creating various lighting conditions that can dramatically alter the mood of your videos. Early mornings can provide soft, golden tones, while late afternoons might give you the warm, amber light ideal for creating a cozy feeling in your scenes.
Understanding how to harness its potential can make a world of difference in your work. For those in the United States, the sun’s trajectory changes with the seasons, offering diverse opportunities for video creators. For instance, the long summer days provide ample time for shooting, while the golden hour—approximately one hour after sunrise and one hour before sunset—offers magical lighting that filmmakers cherish.
In the following sections, we’ll dive into practical tips for maximizing sunlight, including:
- Timing your shoots for optimal light: Be aware of the best times to shoot. Using apps or websites dedicated to forecasting sunlight can help plan your shoots around golden hour and blue hour, where the lighting is particularly exquisite.
- Choosing the right location: Consider the environment where you’re filming. Find areas that allow sunlight to pour in, like parks with open spaces or urban settings with good angles toward the skyline.
- Manipulating light with simple techniques: Utilize reflectors to bounce natural light onto your subject or employ silk scrims to diffuse harsh sunlight. These simple tools can enhance your creations dramatically without the need for elaborate setups.
Prepare to discover the secrets to achieving aesthetically pleasing videos that captivate your audience, all while leveraging the beauty of natural light. The tools and techniques at your disposal can elevate your content, making it an inviting experience for viewers. By embracing natural light, you’re not just improving your production quality; you’re also setting yourself apart in a competitive digital landscape. So, grab your camera and step into the vast studio that nature has to offer.

SEE ALSO: Click here to read another article
Mastering Timing: The Key to Beautiful Natural Light
To truly harness natural light for your video production, timing is everything. The position of the sun throughout the day can drastically influence the quality and mood of your shots. Understanding these rhythms can empower you to create videos that resonate with your audience by evoking the right emotions. Here are some essential timeframes to consider:
- Golden Hour: This period occurs shortly after sunrise and before sunset, where sunlight takes on a warm, golden hue. It casts a flattering light that minimizes shadows and creates a soft glow. Consider planning your shoots around this magical time to capture stunning visuals that enhance your storytelling.
- Blue Hour: This period occurs just before sunrise and just after sunset. During this time, the sky turns a rich blue and the natural light has a softer intensity. This serene time can be ideal for night shots, cityscapes, or establishing scenes that require a calm atmosphere.
- Midday Sun: While often seen as problematic due to harsh shadows and overexposed highlights, the midday sun can be effectively managed. By choosing shaded locations or using scrims to diffuse the light, you can create balanced and appealing visuals even at high noon.
To take full advantage of these timeframes, consider utilizing light forecasting apps or services that provide insights on when the best light conditions will occur. These resources can help you stay ahead of the sun’s movements and optimize your shooting schedule accordingly.
Location Scouting: Finding Your Ideal Setup
The next crucial factor in using natural light effectively is location. The right environment can make all the difference in achieving those aesthetically pleasing videos. Here are some tips for scouting out the perfect locations:
- Open Spaces: Locations such as parks, fields, or waterfronts can allow for ample natural light to illuminate your subjects. The expanse of these areas enhances the feeling of openness and freedom in your visuals.
- Urban Settings: Look for locations with interesting architectural elements. The interplay of light and shadows can create dynamic backdrops that add depth and intrigue to your videos.
- Natural Reflectors: Bodies of water, sandy beaches, or even light-colored walls can act as natural reflectors, bouncing sunlight back onto your subject and softening shadows.
When choosing your location, keep a close eye on the sun’s trajectory throughout the day. Observe how the light interacts with different surfaces and angles. Making adjustments based on your findings can yield remarkable results in your final footage.
By mastering timing and scouting the perfect locations, you set the foundation for utilizing natural light effectively. As you continue on your video creation journey, remember that the world around you is filled with opportunities for stunning visuals, just waiting to be captured by your lens.
| Advantages | Insights |
|---|---|
| Cost-effectiveness | Using natural light eliminates the need for expensive studio lighting equipment, making it budget-friendly for aspiring videographers. |
| Versatility | Natural light changes throughout the day, offering varied moods and aesthetics which can enhance your video’s storytelling. |
| Healthier Lighting | Natural lighting is less harsh than artificial lights, reducing the risk of flattering shadows that can distract from your subjects. |
| Enhanced Color Accuracy | Capturing videos in natural light ensures natural color representation, creating more vivid and lifelike visuals. |
When diving into the methods of incorporating natural light into videos, one can’t overlook the golden hour, which is often praised as the best time for shooting. This period, shortly after sunrise or just before sunset, casts an enchanting glow that perfectly illuminates subjects, maximizing their visual appeal. Additionally, a key element to consider is the direction of light; shooting with the light source behind the camera leads to well-lit subjects and vibrant backgrounds. However, creativity doesn’t stop there. Natural reflectors, like walls or water surfaces, can amplify the light and create soft fill effects, ensuring your subjects are lit evenly. Understanding the nuances of white balance is crucial as well, as varying light conditions can significantly affect color tones. By embracing these principles, you enhance your ability to create videos that do more than just inform—they resonate aesthetically, captivating your audience while utilizing the free and wonderful resource that is natural light.
SEE ALSO: Click here to read another article
Utilizing Reflectors and Filters: Enhancing Natural Light
Once you’ve mastered the art of timing and location scouting, the next step in leveraging natural light for visually captivating videos is the strategic use of reflectors and filters. These tools can help manipulate and enhance light, allowing for greater creative control over your video aesthetic.
- Reflectors: These versatile tools come in various shapes and sizes, allowing you to bounce light onto your subject. Consider using a white reflector for a soft, diffused light or a silver one for a more intense reflection. A simple yet effective DIY option is to use a large piece of white poster board or a metallic car sunshade to redirect sunlight. Positioning reflectors at optimal angles can help fill in shadows on your subjects’ faces, making your video appear more polished and professional.
- Diffusers: When faced with harsh sunlight, a diffuser can significantly soften the light quality. A translucent fabric, stretched on a frame or held above your subject, can create a gentle, even light. This approach works particularly well during the midday sun, where shadows can become unflattering. Many professionals invest in collapsible diffusers as they are lightweight and portable, making them perfect for spontaneous shoots.
- Filters: Camera filters can also offer creative options for enhancing natural light. Neutral density (ND) filters reduce the amount of light entering the lens, allowing for proper exposure and maintaining image clarity in bright conditions. By using ND filters, filmmakers can achieve wider apertures and various shutter speeds, adding a stylistic touch that enhances the cinematic quality of their videos.
To ensure you select the right reflector or diffuser, carry out a series of tests before your shoot. Experiment with different materials and angles to see their effects on your subject’s lighting. A well-prepared filmmaker can drastically improve the aesthetics of their video through the careful manipulation of natural light with these tools.
The Role of Color and White Balance in Natural Lighting
Color temperature dictates the mood and ambiance of your video, especially when working with natural light. Understanding and adjusting the white balance settings on your camera can help ensure that colors appear more accurate and pleasing to the eye.
- Setting White Balance: Different lighting conditions can cast various color hues. For instance, daylight typically ranges from 5,000 to 6,500 Kelvin, while the light during golden hour is warmer, at around 3,000 to 4,000 Kelvin. Familiarizing yourself with these values and adjusting your camera’s settings accordingly can help achieve the right color balance without the need for extensive post-editing.
- Color Palette: Take a moment to consider the color palette of your setting and subjects. Natural light tends to make colors pop, but choosing complementary colors for clothing and backgrounds can enhance the visual impact. For example, earthy tones work well in a forest setting, while vibrant colors can create a striking contrast against a blue sky.
To elevate your storytelling, think about the emotional resonance of colors influenced by the natural light around you. Reflecting on how different hues can affect viewer perception can lead to a more engaging viewing experience.
Through the clever use of reflectors, filters, and a keen understanding of color theory, filmmakers can create aesthetically pleasing videos that harness the beauty of natural light, further enriching their narrative and maximizing audience engagement.
SEE ALSO: Click here to read another article
Conclusion: Mastering Natural Light for Your Video Creations
In conclusion, utilizing natural light effectively can significantly elevate the aesthetic appeal of your videos, transforming ordinary scenes into captivating visuals. By understanding the best times for shooting, strategically selecting locations, and implementing tools such as reflectors, diffusers, and filters, videographers can harness the power of light to enhance storytelling. The interplay of light and color is vital, as adjusting your camera’s white balance settings ensures accurate color representation that resonates with viewers.
Moreover, considering the emotional impact of color palettes in your settings can add depth to your narrative. Whether capturing the warm hues of a sunset or the crisp brightness of midday, the choices you make will influence not only the aesthetics but also audience engagement. Filmmakers should not shy away from experimentation, allowing for creative exploration in varying lighting conditions. It’s through this experimentation that unique visuals emerge, creating an authentic connection with your audience.
The journey into mastering natural light is filled with opportunities for growth and innovation. By continually refining your techniques and understanding the intricacies of light, you can create stunning visuals that not only capture attention but also evoke emotions and immerse viewers in your storytelling.
So, as you embark on your next video project, remember that the sunlight doesn’t just illuminate your scenes; it can transform them into art when utilized thoughtfully and creatively. Embrace this natural resource, and watch your videos flourish.
Related posts:
30-Day Photography Project Enhance Your Vision Improve Skills
Create a Creative Diary Video Text Photography Tips
DIY Experimental Videos Home Techniques for Creative Filmmaking
Creative Photography How to Capture Everyday Objects Stunningly
How to Create Complex Characters for Short Stories A Guide
Simple Cinematic Video Editing Techniques Create Stunning Effects

Linda Carter is a writer and creative hobbies expert specializing in crafting, DIY projects, and artistic exploration. With extensive experience helping individuals discover their creative potential and bring their ideas to life, Linda shares her knowledge on our platform. Her goal is to empower readers with practical tips, inspiring ideas, and step-by-step strategies for success in the world of creative hobbies.