How to Set Up a Home Mini Photography Studio Step-by-Step Guide
Unlock Your Creativity at Home
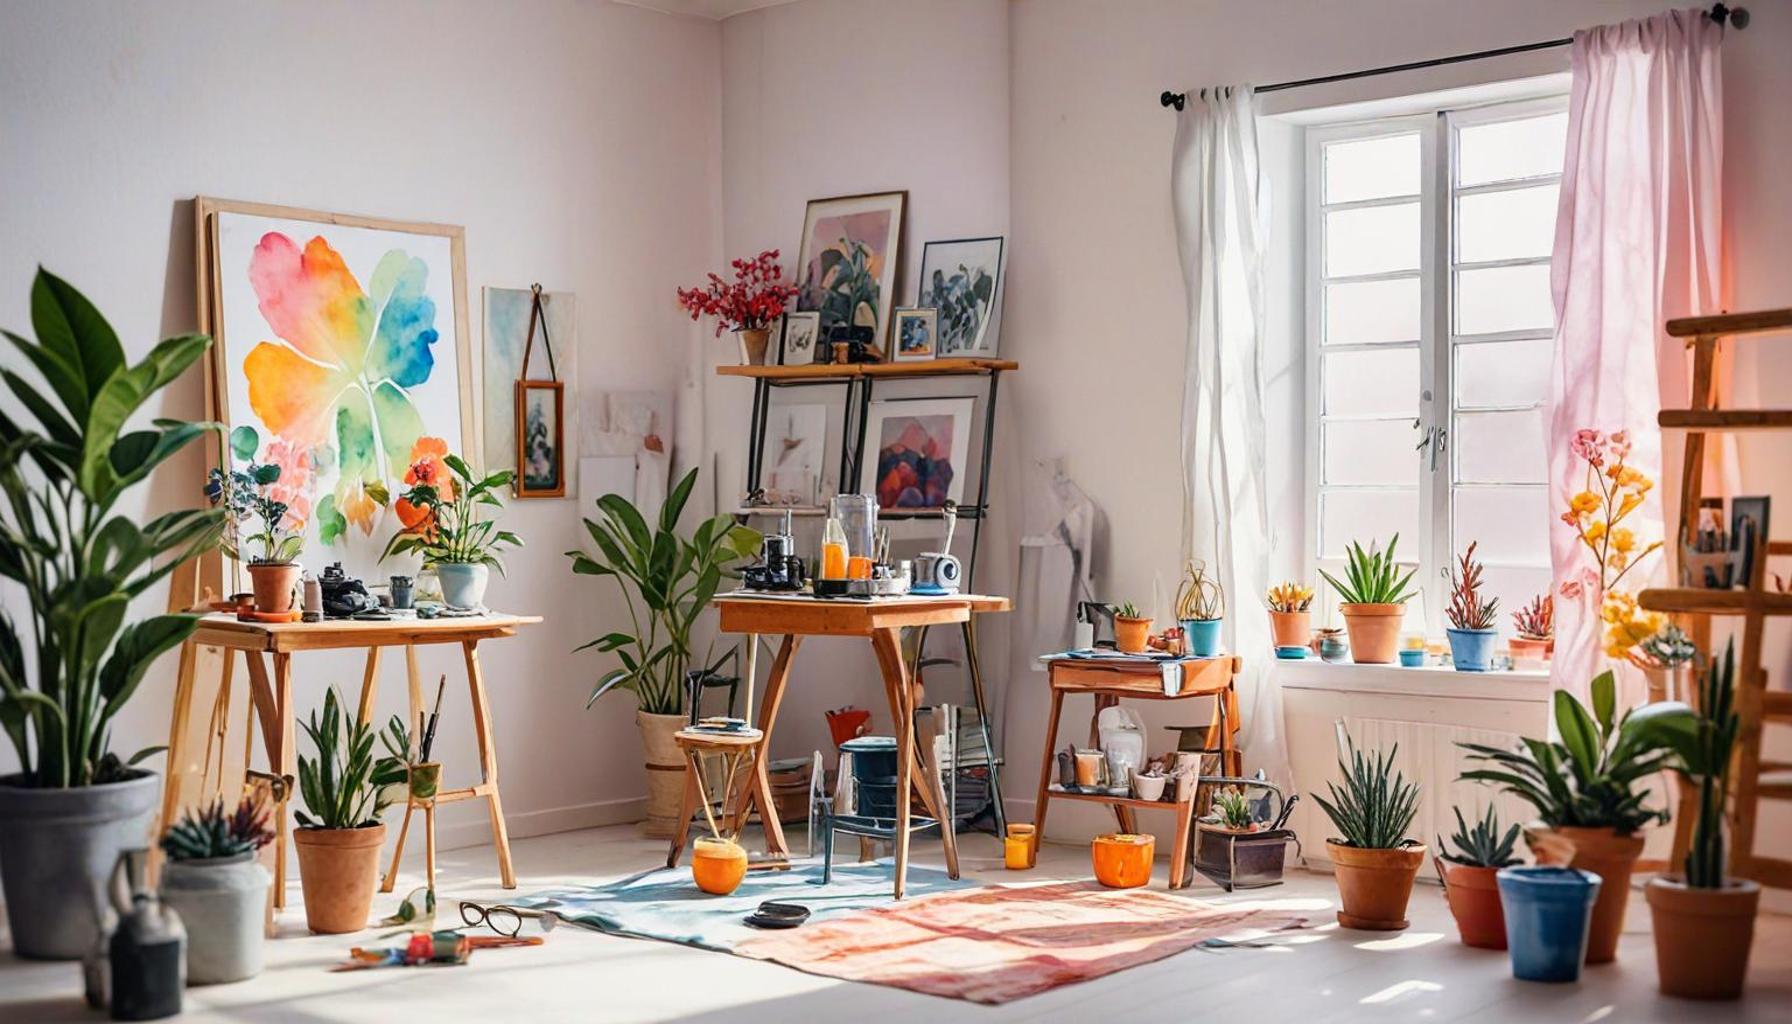
If you’ve ever dreamed of capturing stunning photographs without leaving the comfort of your home, setting up a mini photography studio is your first step. With just a few essential tools and some creativity, you can create a space that rivals professional studios. Whether you’re a budding photographer or just want to elevate your social media content, this guide will take you through the process.
Why Create a Mini Photography Studio?
Having a dedicated space allows you to:
- Experiment: One of the most exciting aspects of photography is the ability to experiment. With a mini studio, you can play with different lighting setups, including natural light and artificial sources like softboxes or LED panels. Try different angles and positions for your subjects to see how they affect the outcome of your images.
- Control Quality: Consistency is key in photography, especially if you’re creating content for branding purposes. With a mini studio, you can ensure that your lighting, backdrop, and equipment are always ready to deliver top-quality results. You’ll find that the professional polish of your images builds trust with your audience.
- Save Time: Setting up equipment for each shoot can be tedious and time-consuming. A mini studio allows you to have everything in one place, so you can quickly jump into shooting when inspiration strikes. Say goodbye to the hassle of transporting gear or reconfiguring your environment.
Imagine the versatility of your own mini studio. You can work on:
- Product photography: Showcase your small business or Etsy creations with eye-catching images that attract potential buyers. High-quality visuals can significantly impact sales, as they create a first impression that draws customers in.
- Portraits of friends and family: Capture joyful memories with loved ones, offering a personal touch that smartphone photography often lacks. Set the mood with different themes, from casual to elegant, ensuring that each session brings a unique style.
- Creative flat lays for social media: In the world of Instagram, flat lays are a popular trend. With a designated space, you can create beautiful arrangements of items that reflect your personality and interests, enhancing your online presence.
As we dive deeper into this step-by-step guide, you will discover everything from lighting techniques to essential equipment. You will learn about gear that doesn’t break the bank, such as affordable tripods and backdrops, making it accessible for everyone. Furthermore, you can explore online tutorials that can help refine your skills, from editing techniques to composition tips. By the end, you’ll be prepared to transform a simple space into a hub for your creative endeavors. Join us and unveil the potential of a home photography studio!
SEE ALSO: Click here to read another article
Step 1: Choosing the Right Space
The journey to creating your own home mini photography studio begins with selecting the ideal location. Look for a space that is not only spacious enough for your equipment but also allows for flexibility and creativity. Here are a few pointers to consider:
- Lighting: Natural light is a photographer’s best friend. Choose a room with plenty of windows that let in soft, diffused light, particularly in the late morning or early afternoon. If your space lacks adequate natural light, don’t worry; you can supplement it with affordable artificial lighting options like softboxes or ring lights.
- Backdrop Options: The wall color or background of your chosen space can greatly influence your photographs. Neutral colors like white, gray, or beige offer a clean canvas, while other colors can add character to your images. Ensure you have the option to easily switch backdrops based on your desired aesthetic.
- Noise Levels: A quiet environment is crucial for a successful photoshoot, particularly if you’re capturing videos or using a reflector. Find a location away from street noise and family distractions to maintain focus during your sessions.
Step 2: Essential Equipment for Your Studio
Once you’ve identified the space, the next step is to gather your essential equipment. You don’t need to invest in expensive gear right away; there are many affordable options that can produce stunning results. Here’s a list of provide must-have items:
- Camera: Whether you use a DSLR, mirrorless camera, or even a smartphone with a great camera, the most critical factor is to know how to utilize it effectively. Familiarize yourself with its modes and settings to maximize your shooting potential.
- Tripod: Investing in a good tripod stabilizes your camera and allows for long exposures and low-light shooting. A sturdy tripod will ensure that your shots are sharp and reduces any shaking during the capture.
- Lighting Equipment: As mentioned earlier, lighting is key. Start with basic LED panels or softbox kits that won’t break the bank. Experiment with different lighting angles and setups to see what works best for your style.
- Backdrop Stand and Materials: Create various backdrops to suit your projects. Consider using fabric, paper, or even seamless rolls that can easily be changed according to the theme of your photoshoot.
- Reflectors: Reflectors are essential for bouncing light and softening shadows. They can be as simple as white boards or specialized collapsible reflectors.
By choosing the right space and equipping yourself with essential tools, you’re laying a solid foundation for your home mini photography studio. Stay tuned for the next steps, where we will dive deeper into advanced techniques and creative setups that will elevate your photography game. With each element, you will move closer to unlocking your creative potential and capturing breathtaking images from the comfort of your home.
Setting Up Your Home Mini Photography Studio: Essential Components
When embarking on the journey of creating a home mini photography studio, understanding the essential components you need is crucial to ensuring your setup is efficient and effective. Below, we break down the key elements that will help you capture stunning images in the comfort of your home.
1. Lighting
Good lighting is the backbone of photography. Natural light can work wonders, but consider investing in artificial lighting. Softbox lights and ring lights are excellent options for creating even, diffused light that reduces harsh shadows. These types of lighting are particularly beneficial for portrait and product photography.
2. Backdrops
A clean backdrop is essential for focusing the viewer’s attention on the subject. You can use basic items like white sheets or invest in professional backdrops that come in various colors and textures. Consider a green screen for more versatility, allowing for creative editing options in post-production.
3. Tripod
Stability is key to clear, sharp images. A tripod not only helps in avoiding camera shake but also assists in setting a specific angle and height for your shots. Ensure to select one that suits your camera type, whether it’s a DSLR or a smartphone.
4. Camera Equipment
While professional cameras will yield higher quality images, a smartphone with a good camera can also work if you utilize the right techniques. If you’re serious about photography, consider purchasing a DSLR or mirrorless camera that allows for further customization in settings and lens choices.
5. Props and Accessories
Props can add interest and context to your photographs. Depending on what you’re shooting, items like vases, fabrics, or personal memorabilia can help tell a story. Always think about how these items enhance your subject without overwhelming it.
6. Editing Software
Post-processing is where many photographers enhance their work. Familiarize yourself with editing software like Adobe Lightroom or Photoshop. These tools allow for adjustments in color, exposure, and clarity to bring your final images to life.By carefully selecting and integrating these components, you will be well on your way to establishing an ideal home mini photography studio that reflects your creative vision and meets your photography needs. The next section will guide you through the step-by-step process of physically setting up your space to maximize its potential.
| Component | Benefits |
|---|---|
| Lighting | Creates the best atmosphere for your photos, enhancing quality and clarity. |
| Backdrops | Provides a clean and professional look, ensuring your subject stands out. |
CHECK OUT: Click here to explore more
Step 3: Arranging Your Workspace
Now that you’ve chosen your space and gathered essential equipment, it’s time to optimize the layout of your photography studio. Organizing your workspace strategically will aid in efficiency and creativity during your shoots. Here are some tips to consider:
- Setup Zones: Establish distinct zones for different activities, such as shooting, editing, and storing equipment. This separation not only clarifies your workflow but also keeps your space organized and reduces clutter.
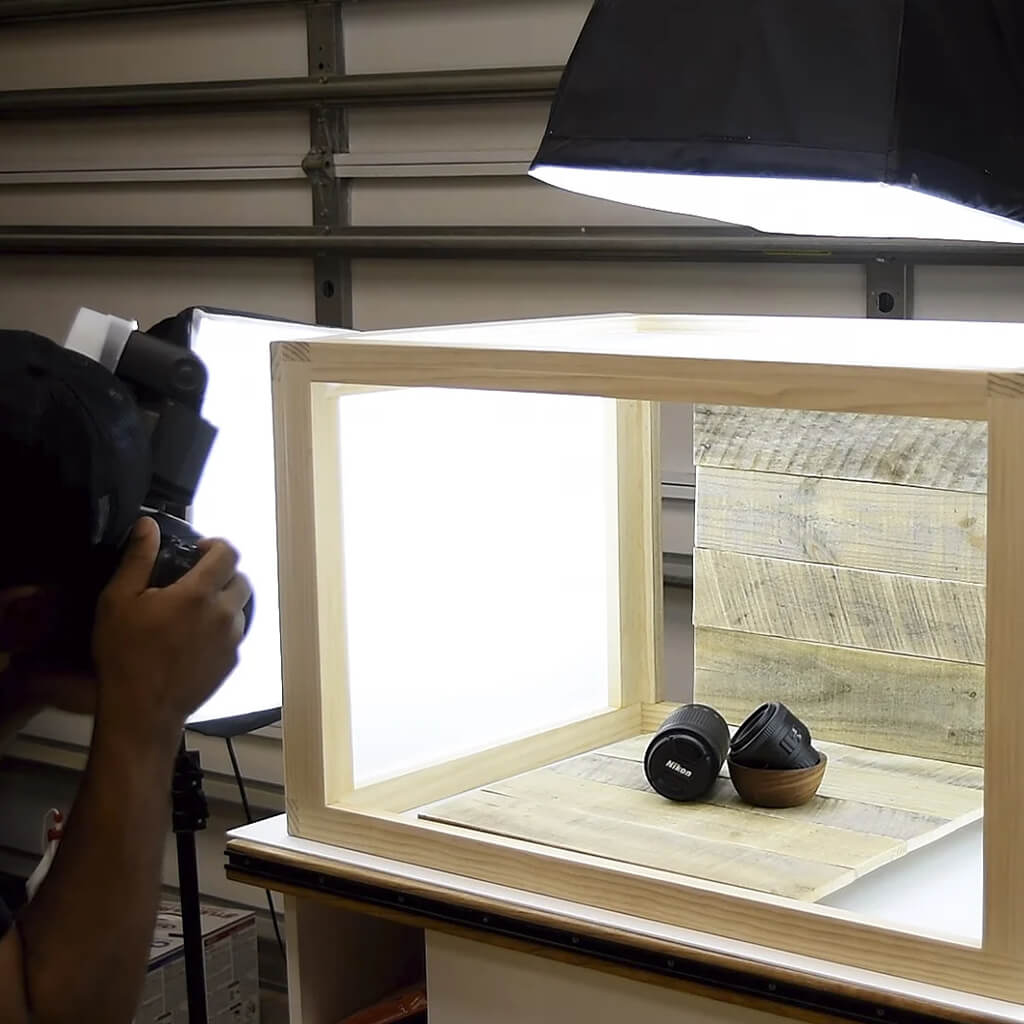
- Camera Positioning: Position your camera setup facing your primary light source (either a window or your chosen lighting gear). This setup helps to capture the best of natural illumination, enhancing your images. Make sure the camera is at eye level for most subjects unless experimenting with unique angles.
- Accessibility: Ensure that your props, backdrops, and lighting controls are easily accessible from your shooting area. Keeping everything within arm’s reach will allow for smooth transitions between setup and shooting. You might even consider rolling carts or storage units that can be easily moved.
Step 4: Learning Basic Techniques
With a well-organized workspace in place, it’s essential to familiarize yourself with basic photography techniques that will improve your results. Understanding these foundational skills will bolster your confidence and creativity when shooting. Here are a few fundamental techniques to explore:
- Exposure Triangle: Understanding the relationship between ISO (sensitivity), shutter speed (duration), and aperture (lens opening) is imperative for achieving well-exposed images. Take time to practice balancing these settings to see how they impact your final results.
- Composition Rules: Learn the basics of composition, such as the Rule of Thirds, leading lines, and framing techniques. A well-composed image will naturally draw the viewer’s attention and tell a more engaging story.
- Post-Processing: Familiarize yourself with editing software such as Adobe Lightroom or Photoshop. Basic editing skills can dramatically enhance the quality of your images—consider adjusting brightness, contrast, and color balance to make your photos pop.
Step 5: Experimenting with Styles
Once you grasp the essentials, engage in experimentation. Developing your own photographic style is a thrilling part of the creative process. Here are a few approaches worth exploring:
- Product Photography: If you have a keen interest in e-commerce or visual marketing, delve into product photography. Use varied backdrops, lighting techniques, and angles to showcase items effectively. Small items, like jewelry or cosmetics, can be particularly rewarding to shoot.
- Portrait Photography: Create emotional portraits of friends and family. Experiment with different poses, outfits, and locations within your home studio to bring a unique personal touch to your subjects.
- DIY Challenges: Try themed photoshoots using everyday objects around your home. For instance, create a mini-series with fresh fruits or household items to ignite your creativity without requiring extensive props.
With dedication and a bit of practice, you will uncover techniques and styles that resonate with your artistic vision. This ongoing exploration is not only enjoyable but also imperative for your growth as a photographer working from home.
SEE ALSO: Click here to read another article
Conclusion
Establishing a home mini photography studio is an engaging and fulfilling endeavor that empowers you to express your creativity and develop your skills. By following this step-by-step guide, you’ve learned how to effectively choose a suitable space, arrange your workspace, master essential techniques, and cultivate your distinctive photographic style.
The pivotal takeaway here is that organization and experimentation are key components of a successful photography setup. Your workspace should not only be visually appealing but also functionally efficient, allowing you to transition smoothly from planning to execution. The basics of photography, including understanding the exposure triangle and composition, serve as the groundwork that will elevate your images from average to awe-inspiring.
Moreover, don’t hesitate to delve into various styles, whether it’s product photography or capturing intimate portraits. The freedom of creating within your home offers a unique opportunity to dance with lighting, forms, and themes that resonate with you. Remember, creativity flourishes when you allow yourself to experiment and think outside the box, even when your subjects are everyday objects around your home.
As you continue to refine your skills and explore innovative ideas, your home mini photography studio can evolve into a vibrant corner of artistic expression. So grab your camera, let your imagination soar, and start captivating your audience with pictures that tell a story!
Related posts:
Basic Sound Editing Techniques for Creative Video Projects
Essential Filming Techniques for Creating Unique Personal Videos
Creative Projects Merging Writing Photos Video for Impact
Natural Lighting Tips for Stunning Photos Without Pro Gear
Step-by-Step Guide to Create Inspiring Digital Mood Boards
Create Professional-Looking Travel Videos A Step-by-Step Guide

Linda Carter is a writer and creative hobbies expert specializing in crafting, DIY projects, and artistic exploration. With extensive experience helping individuals discover their creative potential and bring their ideas to life, Linda shares her knowledge on our platform. Her goal is to empower readers with practical tips, inspiring ideas, and step-by-step strategies for success in the world of creative hobbies.